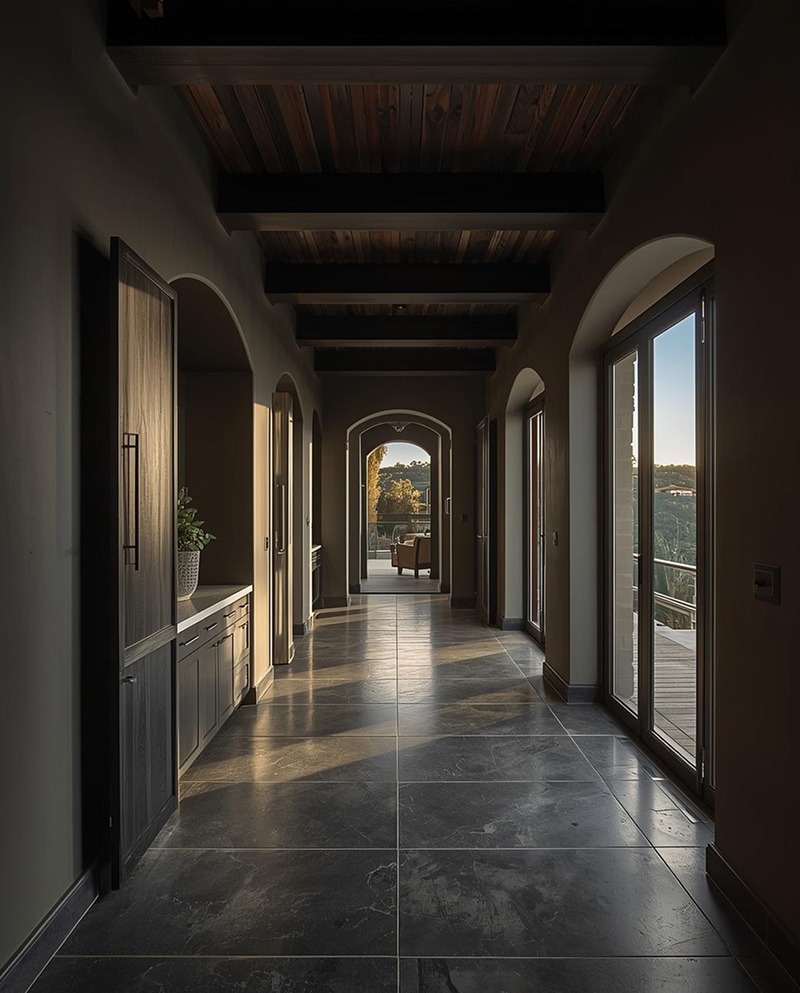


You finally have Saturday, the grill is ready, and everyone ends up balancing chairs on uneven dirt because the backyard still has no comfortable place to gather. Maybe water collects near the back door, or the old slab feels too small. What should happen before anyone starts digging? A well-planned patio installation answers that question before construction begins. The process can turn an awkward yard into a durable place for meals and fall evenings.
Quick Snapshot: Patio Installation at a Glance
A patio installation usually moves through six stages: site planning, grading, material selection, base preparation, surface installation, and final drainage checks. The contractor studies how the patio will connect to the house and yard. Next, the crew prepares a stable base, installs the surface at the correct slope, and finishes the edges and joints.
Each stage affects the next. Good projects start with function, not a finish sample.
Step 1: Patio Installation Starts With Site Planning
Before a crew marks the ground, the patio needs a purpose. Will it hold dining furniture, lounge seating, a fire feature, or a path to a pool? The answer helps set the size, shape, and access points.
Think ahead, too. If you may add lighting, landscaping, an outdoor kitchen, or a patio cover installation later, plan for those features now. For a larger yard update, explore comprehensive outdoor remodeling in San Diego and 10 Backyard Design Ideas That Make San Diego Homes More Enjoyable.
A North Park yard may need one gathering zone, while a larger Carmel Valley yard may support separate cooking and lounge spaces. That sets the direction. Next comes site prep.
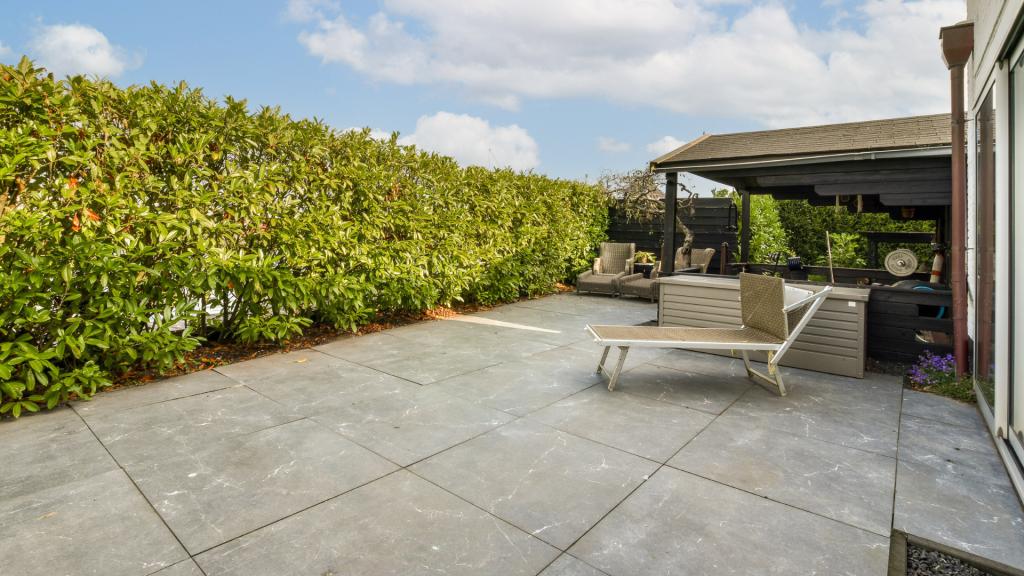
Step 2: Measure, Grade, and Prepare the Site
The next stage often decides how well the patio lasts. The crew measures the area, checks elevations and drainage, and looks for roots, irrigation, utilities, or tight access.
Then excavation begins. Workers remove soil or old material and shape the grade so water moves away from the home. Some San Diego properties may need extra review for grading, coastal conditions, or sensitive land, so permit needs should be checked for the site. San Diego
Good preparation creates a reliable starting point. Next, the material can be matched to the site.
Step 3: Choose Materials for Your Patio Installation
The surface should fit the house and how you plan to use it. A concrete patio creates a clean, continuous look. Pavers offer more pattern choices and easier replacement of individual units. Natural stone adds variation in color and texture.
Material choice also affects joints, base depth, maintenance, and installation time. Compare finished spaces and view our completed patio installation projects to see how color and scale read across a yard.
Once the surface is selected, the crew can build the support system. That hidden layer matters as much as the finish.
Step 4: Build the Base Before the Surface Goes Down
A patio only looks finished on top. Underneath, the base carries loads, controls movement, and helps water drain. The build-up depends on the material and site.
For unit surfaces, crews may compact aggregate before adding the setting layer. Concrete may require forms, reinforcement, and joints. Natural stone can need its own base and setting method.
Weak base work can lead to settling, low spots, or cracks. Once the support system is ready, the visible build can begin.
Step 5: Patio Installation and Surface Placement
Now the layout starts to look real. The crew sets forms, stones, or units according to the plan while checking lines, elevations, spacing, and transitions.
For stone or unit work, installers watch pattern and edge cuts. For poured surfaces, timing matters through curing. Fall can be a practical season for patio installation in San Diego because milder days may be easier than summer heat, although the forecast still controls the schedule.
Changes become harder once finish work starts. So steps, drains, and built-in features should be confirmed first.
Step 6: Finishing, Drainage, and Final Checks
A patio is not complete when the last surface piece goes down. The team still needs to finish edges, joints, transitions, grades, and cleanup.
The final walkthrough should check how water leaves the space. Doors should stay clear, steps should feel consistent, and transitions should not create trip points. If the patio connects to a larger outdoor living area, tailored backyard remodeling solutions can help coordinate planting, walls, lighting, and future features.
These details turn separate tasks into one usable space. They also clarify when furniture can return.

How Long Does Patio Installation Take in San Diego?
There is no single timeline because size, access, demolition, material, weather, inspections, and added features all matter. A simple project may move quickly, while hardscape with grading, utilities, walls, or several zones can take longer.
| Project phase | What happens |
|---|---|
| Planning | Site review, layout, materials, permit check |
| Preparation | Demolition, excavation, grading, base work |
| Installation | Surface placement, cuts, joints, edges |
| Finish | Curing or joint work, cleanup, walkthrough |
Ask patio contractors for a written scope that explains what is included and what could change the schedule. Experienced San Diego builders at Shiro Builders Group can also review access, drainage, and related backyard work before construction starts.
Once the scope is clear, the timeline makes sense. A few questions can prevent surprises.
Frequently Asked Questions
Even small details can shape the result, so ask these common questions before construction begins.
Can a new patio go over an old slab?
Sometimes. Hence, the slab must be stable, properly sloped, and suitable for the new system.
Can I add gas or electrical lines later?
Yes, although planning utilities first avoids cutting into finished work. Decide early if you may want a grill, heater, lighting, or spa.
How close can a patio be to the property line?
Rules depend on the feature, property, and jurisdiction. Ask your contractor to verify local requirements.
Should the patio match the house exactly?
Not always. Related tones, textures, or shapes can feel connected without looking copied.
What maintenance should I expect?
Maintenance varies by material. Sweeping, stain cleanup, joint care, and periodic checks help most surfaces stay manageable.
These answers narrow the choices before work starts. The larger lesson is that the whole system should work together.
Build a Better Patio From Day One
A successful patio project is more than a new surface. It combines use, grade, drainage, materials, base preparation, and finish quality. When each step supports the next, the finished space feels like part of the home.
Shiro Builders Group brings that planning-first approach to custom backyard projects across San Diego. The team is BBB-accredited, Yelp-verified, and licensed.
Start by identifying what is not working in your yard today. Then turn those pain points into a clear plan.
Plan Your Custom Patio With Shiro Builders Group
If you want the patio ready for fall dinners, holiday gatherings, or a more useful backyard before winter, start planning now. Call Shiro Builders Group at (858) 630-6818 to discuss layout, materials, drainage, and the right construction path for your property.
You can also contact Shiro Builders Group today to request a consultation. Follow Shiro Builders Group on Facebook and Instagram for project ideas, design details, and San Diego remodeling inspiration.